
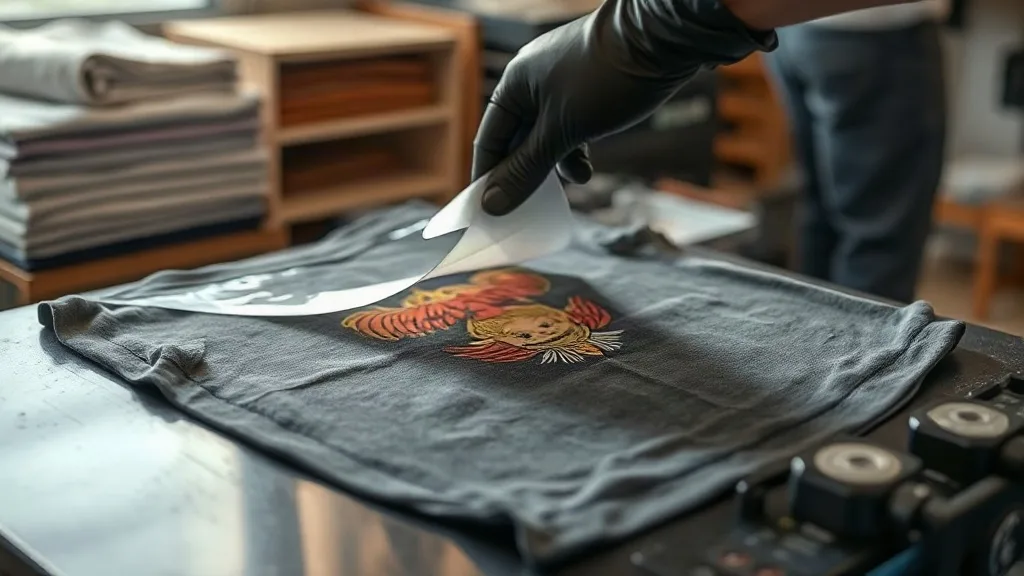
You've dialed in your dtf transfers on 100% cotton tees, and the results are crisp, stretchy, and wash-proof. Then a customer hands you a stack of 50/50 poly-cotton blends or a tri-blend hoodie and suddenly everything goes sideways: the transfer won't release, the edges lift after the first wash, or the print feels stiff as cardboard. If that sounds familiar, you're not alone. Blends are the most requested garment type in custom apparel, yet they're also where most DTF problems hide. This guide is about closing that gap. You'll learn why fiber content changes everything, how to adjust your process for poly-cotton and tri-blends, and how to test without wasting film.
Why Blends Behave Differently Under the Heat Press
DTF film doesn't care what your shirt looks like. It cares about three things: surface texture, heat tolerance, and how the fibers move when the garment stretches or shrinks. Cotton and polyester are opposites on all three.
Cotton has a rougher, more porous surface. It grabs adhesive powder well and tolerates higher heat without scorching. Polyester is smoother and more sensitive. Push it too hard and you get dye migration, where the garment's color bleeds into your transfer. Push it too soft and the adhesive never fully bonds. Blends sit somewhere in the middle, which sounds easier but often isn't. The cotton side wants more heat and pressure; the poly side wants less. Your press settings have to split the difference without failing either fiber.
There's also the shrinkage factor. Cotton shrinks, polyester doesn't. On a 50/50 shirt, the cotton fibers pull back after washing while the poly fibers stay put. That internal tension is exactly what causes edges to lift and fine details to crack. Understanding this is the first step to preventing it.
The Dye Migration Trap
Dye migration is the silent killer of prints on dark blends, especially reds, navies, and blacks. When the press gets too hot, disperse dyes in the polyester sublimate into the adhesive layer and turn your white design pink or gray. It often doesn't show up until a day or two after pressing, which makes it easy to miss during production. If you press a lot of dark poly-cotton, a lower temperature and a slightly longer dwell time will save you more headaches than any other single adjustment.
Press Settings That Actually Work on Blends
There's no universal setting, but there is a reliable starting point. For most 50/50 and tri-blend garments, begin at 300°F (150°C) with medium pressure and a 12 to 15 second press. That's cooler than what you'd use on 100% cotton and slightly longer to compensate. From there, adjust in small steps based on what you see.
- Temperature: 290–310°F for poly-heavy blends; up to 320°F for cotton-heavy blends. Never exceed 320°F on anything with more than 50% polyester.
- Pressure: Medium. You want firm contact, not a vise. Too much pressure flattens the fabric and pushes adhesive into the weave where it can't anchor.
- Time: 12–15 seconds for the initial press; 5–8 seconds for the second press after peeling the film cold or warm.
- Peel: Cold peel for blends. Warm peel can stretch the fabric while the adhesive is still soft, causing distortion.
If you're using a dtf transfer from a supplier, ask for their recommended settings and then test on your actual garment. Supplier recommendations are a starting point, not a guarantee, because fabric finishes vary wildly between brands.
Pre-Pressing Is Not Optional
Always pre-press the garment for 5 to 7 seconds before laying down the transfer. This does two things: it removes moisture from the fabric (which can turn to steam and ruin adhesion) and it smooths wrinkles that would otherwise create gaps under the film. On blends, moisture is a bigger problem than on cotton because polyester traps it longer. A quick pre-press is the cheapest insurance you'll ever buy.
Choosing Film and Powder for Poly-Cotton
Not all DTF film is created equal, and blends expose the difference fast. For poly-cotton, look for film with a consistent adhesive coating and a release layer that peels cleanly at lower temperatures. Cheap film often peels hot but grabs and tears when cold, which forces you to press hotter than the garment can handle.
Powder matters just as much. A fine-grain, low-melt adhesive powder will fuse properly at 300°F, while coarser powders need more heat to flow out. If your powder is meant for high-temperature curing, it may not fully activate on a blend without scorching the polyester. Match your powder to your press temperature, not the other way around.
If you're sourcing dtf transfers near me, ask the supplier what film and powder they use and whether they've tested on 50/50. A supplier who can answer that question clearly is worth sticking with.
Storage and Handling
Film absorbs moisture from the air. On humid days, that moisture becomes steam under the press and causes pinholes or poor adhesion, especially on blends where the fabric already holds water. Store film in a sealed bag with a desiccant packet and let it come to room temperature before opening. If you've ever had a transfer that looked perfect before pressing and failed immediately after, humidity is a likely culprit.
Testing Without Wasting Film
Every new garment style deserves a test press. Cut a small square of transfer, press it on an inconspicuous area like the inside hem, and run it through a wash cycle before committing to a full order. This sounds slow, but it's faster than reprinting a dozen shirts because the whole batch peeled.
For a more thorough test, press a full design on a scrap garment and check three things: how the film releases, how the print stretches with the fabric, and how it looks after one warm wash and a tumble dry on low. If any of those fail, adjust one variable at a time. Change temperature first, then pressure, then time. Changing everything at once tells you nothing.
Common Blend Problems and Their Fixes
Most failures on blends fall into a few predictable categories. Here's what to check when something goes wrong.
- Edges lift after washing: Usually under-pressed or pressed with too little pressure. Increase time by 2 seconds and pressure slightly, then retest.
- Print feels stiff: Too much powder or excessive pressure. Reduce powder coverage and lighten pressure.
- Color bleeding into the design: Dye migration. Lower temperature to 290°F and extend dwell time.
- Film won't release cleanly: Film is too hot or too cold for the peel method. Try a cold peel and check that your film is rated for it.
- Cracking along stretch lines: The print is bonded to the surface but not anchored into the weave. Pre-press longer and increase pressure slightly.
Frequently Asked Questions
Can you use DTF transfers on 100% polyester shirts?
Yes, but with extra care. Polyester requires lower temperatures (around 290°F) and a cold peel to avoid dye migration and fabric scorching. Always test on a scrap piece first, especially with dark colors.
Why do my DTF prints on blends feel rubbery?
Rubbery prints usually mean too much adhesive powder or excessive press pressure. Both push adhesive into the fabric and leave a thick layer on top. Reduce powder to a light, even coat and use medium pressure instead of firm.
How long should I press DTF on a 50/50 shirt?
Start with 12 to 15 seconds at 300°F with medium pressure, then cold peel and do a second press for 5 to 8 seconds. Adjust based on how the film releases and how the print stretches.
Do DTF transfers work on tri-blend fabrics?
They do, but tri-blends contain rayon or viscose, which can be heat-sensitive. Use the lowest effective temperature (around 290°F) and a cold peel. Pre-press thoroughly to remove moisture, and always wash-test before a full production run.
What causes a DTF transfer to peel after the first wash?
Peeling after washing almost always comes down to incomplete adhesive bonding. Common causes include pressing too cool, too short a dwell time, moisture in the fabric or film, or peeling the film too early. Pre-press the garment, store film dry, and follow the cold-peel method for blends.