
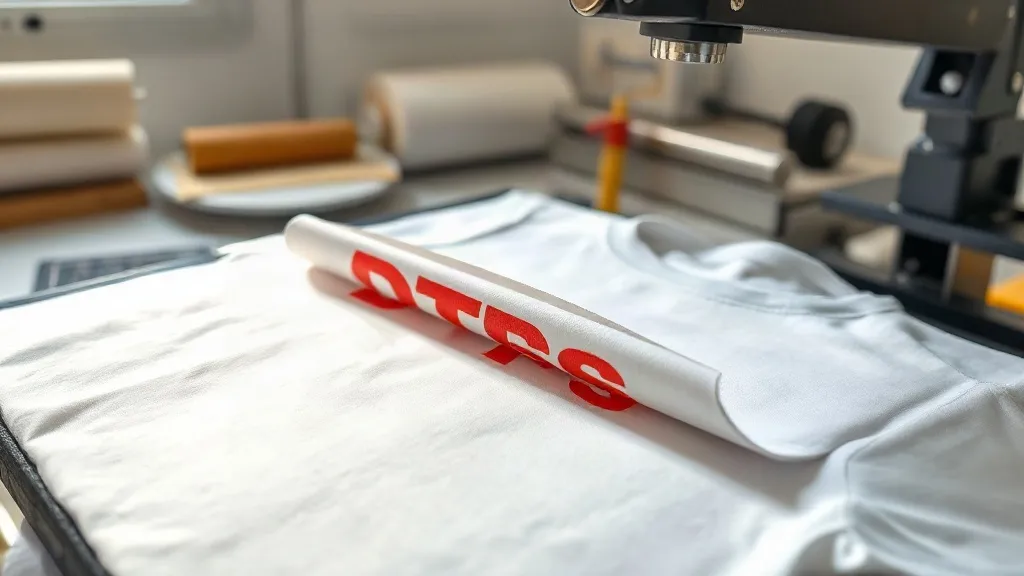
You've probably seen the impressive results of dtf transfers on social media or in local shops: vivid colors, fine details, and a soft feel that rivals screen printing. But when you try it yourself, the outcome can be disappointing. Blotchy colors, peeling edges, or a stiff, plastic-like texture are common frustrations. The difference between a professional-looking print and a ruined garment often comes down to a few key steps that many tutorials gloss over. This guide focuses on the practical application of DTF transfers, giving you a clear, repeatable process for flawless results every time.
What Makes DTF Transfers Different?
Before diving into the application, it's worth understanding why dtf transfers have become so popular. Unlike vinyl or screen printing, DTF uses a digital printer to print your design onto a special film, which is then coated with a heat-activated adhesive powder. When you press it onto fabric, the adhesive melts and bonds with the fibers, while the ink sits on top. This means you can transfer full-color, photographic-quality images onto almost any fabric, including cotton, polyester, blends, and even nylon. The process is also more forgiving for small runs and complex designs, making it a favorite for custom apparel businesses and hobbyists alike.
Preparing Your Workspace and Materials
Success with DTF starts before the heat press even turns on. A clean, organized workspace and the right tools set you up for consistent results.
Essential Tools
- Heat press (or a home iron as a last resort, though results may vary)
- DTF transfer film with your printed design
- Garment to be printed (pre-washed if necessary)
- Heat-resistant tape (optional but helpful for keeping the transfer in place)
- Teflon sheet or parchment paper for protection
- Lint roller or lint-free cloth
Choosing the Right Garment
Not all fabrics behave the same under heat. Cotton and cotton blends are the most forgiving and yield excellent results. Polyester can also work well, but you may need to lower the temperature slightly to avoid scorching or dye migration. For synthetic fabrics like nylon or spandex, use a lower temperature and test on a scrap piece first. Always check the garment's care label for heat sensitivity.
Step-by-Step Application Process
Follow these steps carefully, and you'll see a noticeable improvement in your prints.
Step 1: Preheat the Garment
Preheating removes moisture and wrinkles, which can interfere with adhesion. Set your heat press to the recommended temperature for your fabric (usually around 300°F to 325°F). Press the garment for 5-10 seconds with medium pressure. This step also helps the fabric shrink slightly before the transfer is applied, preventing cracks later.
Step 2: Position the Transfer
Place the DTF transfer face down onto the garment, with the printed side touching the fabric. The film backing should be facing up. If your design has multiple parts, use heat-resistant tape to hold them in place. Double-check the alignment, especially for text or logos that need to be straight.
Step 3: Apply Heat and Pressure
Cover the transfer with a Teflon sheet or parchment paper to protect your press and the film. Close the press and apply medium to firm pressure for 10-15 seconds. The exact time depends on the film manufacturer's instructions, so always check the spec sheet. Too little pressure or time results in poor adhesion; too much can cause the adhesive to bleed or the film to wrinkle.
Step 4: Peel the Film
This is where many people go wrong. There are two types of DTF transfers: hot peel and cold peel. For hot peel, remove the film immediately after pressing while it's still hot. For cold peel, wait until the transfer has cooled completely (about 1-2 minutes) before peeling. Peeling at the wrong temperature can cause the design to lift or distort. Always follow the manufacturer's recommendation. Peel in a smooth, steady motion, starting from one corner.
Step 5: Post-Press for Durability
For extra durability, especially on stretchy fabrics, cover the design with parchment paper and press again for 5-10 seconds. This helps the adhesive fully penetrate the fibers. Avoid ironing directly over the design afterward, as the heat can cause the ink to soften and stick to the iron.
Troubleshooting Common Issues
Even with careful technique, problems can arise. Here's how to diagnose and fix them.
Design Peeling After Wash
If your transfer peels after washing, it's usually due to insufficient pressure, incorrect temperature, or peeling too soon. Ensure you're using consistent, firm pressure across the entire design. Also, check that the garment is completely dry before pressing and that you've allowed the transfer to cool if it's a cold peel. Washing the garment inside out in cold water and avoiding fabric softener can also extend the life of the print.
Blotchy or Faded Colors
Blotchy colors often indicate that the ink didn't fully transfer. This can happen if the pressure is uneven or if the temperature is too low. Make sure your heat press is calibrated (use an infrared thermometer to check the platen temperature). Also, ensure the transfer film is not expired and has been stored properly away from moisture and heat.
Stiff or Plastic Feel
DTF transfers are known for their soft hand, but if the print feels stiff, you might be using too much pressure or pressing for too long. Reduce the pressure slightly and stick to the recommended time. Also, choosing a high-quality transfer film can make a big difference. Cheaper films often have a thicker adhesive layer that feels rubbery.
Finding Quality DTF Transfers
If you're not printing your own transfers, sourcing from a reliable supplier is crucial. When searching for dtf transfers near me, look for providers that offer clear specifications, consistent quality, and fast turnaround. Many online suppliers now offer nationwide shipping, so you're not limited to local options. Always request a sample pack to test the quality before committing to a large order. Pay attention to the vibrancy of the colors, the softness of the hand, and how well the transfer adheres after several washes.
SSS
Can I use DTF transfers on dark-colored shirts?
Yes, DTF transfers work beautifully on dark fabrics because the white ink layer in the transfer provides a bright base for the colors. Just ensure your design has a white underbase if needed.
How do I store unused DTF transfers?
Store them in a cool, dry place away from direct sunlight. Keep them flat to prevent curling, and avoid humidity, which can affect the adhesive powder.
What's the best way to wash garments with DTF prints?
Turn the garment inside out and machine wash in cold water with mild detergent. Avoid bleach and fabric softeners. Tumble dry on low or hang dry. Do not iron directly over the print.
Can I stretch the fabric after applying a DTF transfer?
DTF transfers are flexible, but excessive stretching can cause cracking over time. For stretchy fabrics, use a transfer designed for stretch or apply a post-press to improve elasticity.
How long do DTF transfers last?
With proper application and care, DTF transfers can last as long as the garment itself, often 50+ washes. Quality of the transfer film and adhesive plays a big role in durability.