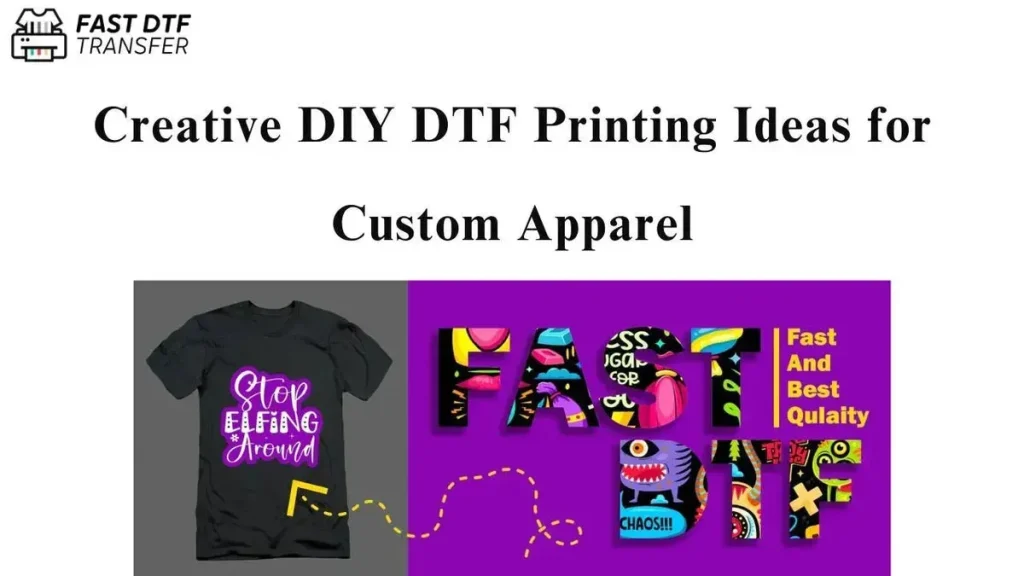
DIY DTF Transfers have revolutionized the world of custom apparel printing, enticing crafters with their ability to produce vibrant designs with ease. This innovative technique, known as Direct-to-Film printing, allows enthusiasts to create personalized fabrics using a straightforward DTF transfer process. In this comprehensive step-by-step guide, we will reveal how to create DTF transfers that can be seamlessly applied to various fabrics, ensuring your designs stand out without fading or cracking. From understanding the materials needed to mastering the printing technique, this article is your go-to resource for diving into the dynamic realm of DIY DTF transfers. Discover the joy of designing transfers for fabric that not only express creativity but also offer durability and quality.
In the exciting realm of crafting, the method often referred to as Direct-to-Film applications is gaining traction among DIY enthusiasts and professional printers alike. This printing approach allows you to imprint unique graphics onto fabric, making it a popular choice for custom merchandise and apparel. The process of applying design transfers to textiles involves several simple yet essential steps that anyone can follow. As you explore this guide, you will learn about the tools, techniques, and tips required to become proficient in DTF applications, enabling you to bring your creative visions to life with high-quality results. Embrace this cutting-edge technology and elevate your fabric decorating skills as you venture into the world of custom print designs.
The Benefits of DIY DTF Transfers
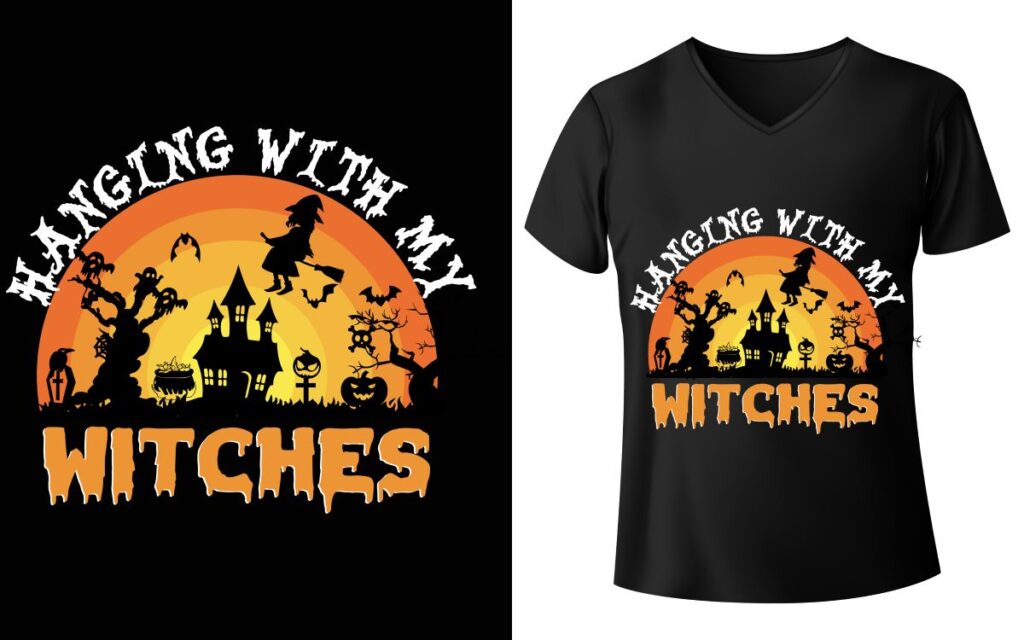
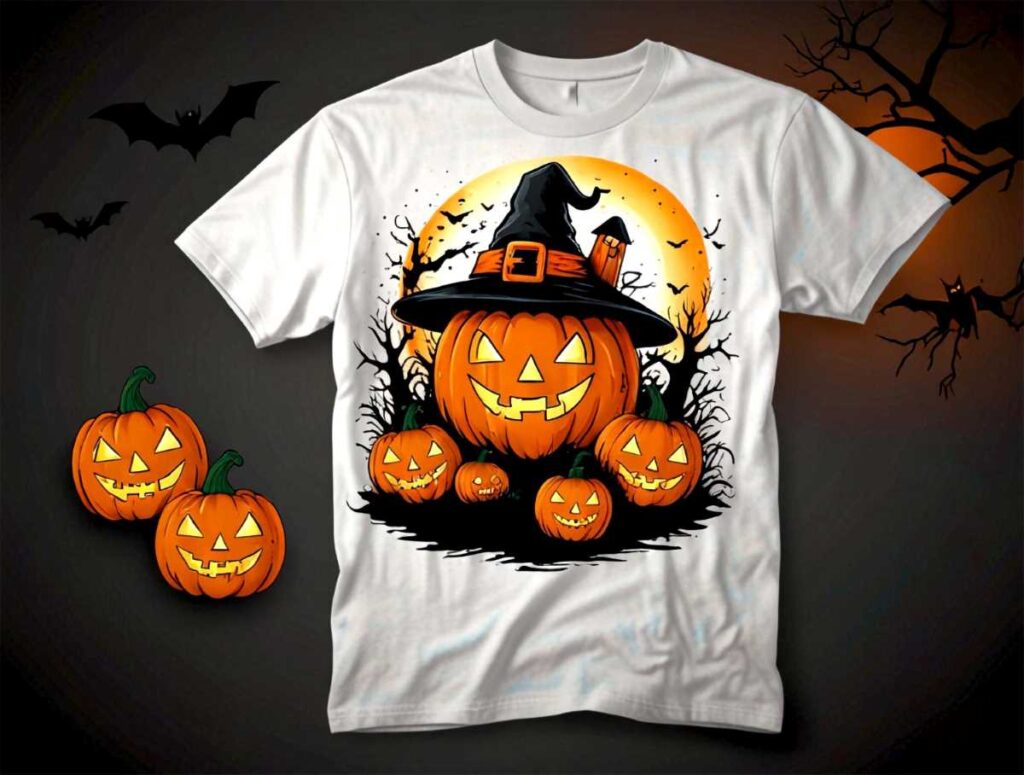
DIY DTF transfers provide an impressive palette of benefits that set them apart from traditional printing methods. For starters, the quality of prints achieved through this technique is remarkable; colors are bright, and details are sharp. This is largely due to the specialized DTF inks, which have been developed to achieve high vibrancy and longevity, allowing custom apparel to stand the test of time. Furthermore, DTF transfers can be applied to a variety of materials, making this method incredibly versatile for creators looking to customize shirts, hats, or even bags.
Another significant advantage is the user-friendliness of the DTF transfer process. Beginners can easily follow a step-by-step guide to achieve professional-quality results without the steep learning curve associated with some other printing methods. This accessibility makes DTF transfers an excellent choice for both hobbyists and those considering entering the custom apparel market. With just a few essential materials and the right technique, anyone can create personalized clothing that reflects their unique style.
Essential Materials for DTF Transfers
To embark on your DIY DTF transfer journey, gathering the right materials is essential. At the core of the process is a specialized DTF printer, which uses unique DTF inks specifically designed for transferring vivid designs onto fabric. Alongside the printer, you’ll need DTF transfer film that can withstand the heat transfer process and adhesive powder to ensure the ink adheres correctly to the fabric. Additionally, a reliable heat press is crucial; it applies the consistent heat and pressure needed to secure the printed design onto the desired material.
Beyond the primary equipment, having weeding tools on hand can greatly enhance your experience. These tools assist in removing excess film and ensuring that your design is clean and professional-looking before application. With all of these materials prepared, you will be well-equipped to execute the DTF transfer process efficiently and effectively. Investing in quality tools is a prerequisite to achieving high-quality results, which is especially important in the competitive landscape of custom apparel printing.
Step-by-Step Guide to Creating DTF Transfers
Creating DTF transfers involves several steps that are both straightforward and satisfying. The first step is to craft your design using graphic design software like Adobe Illustrator or Canva. It’s crucial that your design meets the specified requirements for DTF printing, particularly regarding resolution and color settings. Once you’re satisfied with your design, you can print it onto the transfer film. Remember, if your design includes text or directional elements, printing in reverse is essential for correct application.
After printing, the next step is to apply the adhesive powder while the ink is still wet. It’s important to sprinkle the adhesive evenly and remove any excess to avoid clumping. You’ll then heat the film to melt the adhesive, ensuring a strong bond with the ink, which is a critical part of the DTF transfer process. Following the preparation, you’ll want to preheat your heat press. Finally, transfer the design onto your chosen fabric by applying heat and pressure, and carefully peel away the film once it’s done. This sequence not only streamlines your process but also increases the likelihood of achieving vibrant, durable prints.
Common Mistakes to Avoid in DTF Transfers
Like any craft, DIY DTF transfers come with a learning curve, and beginners might fall prey to common mistakes that can affect their final result. One of the most prevalent issues is misprinting; using incorrect settings on your printer, such as the wrong paper type or print quality, can lead to dull or blurry designs. It’s crucial to ensure that your printer is appropriately calibrated and that you’re using quality DTF inks. Moreover, not allowing the adhesive to set correctly before applying heat can cause the transfer to fail, leading to incomplete designs.
Additionally, rushing through the weeding process can result in an unprofessional appearance. It’s vital to take your time to meticulously remove the excess film, particularly in intricate designs, to ensure a clean finish. Lastly, neglecting to follow the recommended heat and pressure settings can compromise the durability of your prints. By being mindful of these common pitfalls and taking a deliberate approach to each step, crafters can significantly enhance the quality and success of their DIY DTF transfers.
Exploring DTF Transfer Design Techniques
When it comes to designing for DTF transfers, creativity knows no bounds. The beauty of DTF printing lies in its flexibility, allowing artists to experiment with various design styles and techniques. From intricate patterns to bold graphics, you can utilize high-resolution images that capture color vibrancy effectively. Moreover, adapting designs to fit the fabric’s texture and drape can yield innovative results, turning any apparel into a canvas for your imagination. Whether you’re crafting designs for playful children’s clothing or elegant custom shirts, the options are limitless.
Incorporating layers in your design can also create stunning visual effects. By layering different colors and textures, you can produce depth and dimension in your transferred designs. This is particularly effective in custom apparel printing, where the right choices can elevate the piece from ordinary to extraordinary. Experimenting with gradients, shadows, and even metallic finishes can create standout pieces that showcase your unique artistic vision. As you continue to design with DTF, consider how each element contributes to the overall impact of your clothing line.
Resources for Mastering DTF Transfers
For those eager to deepen their understanding of DTF transfers, numerous resources can aid in mastering this technique. Online platforms like YouTube offer a plethora of tutorials created by seasoned professionals, guiding you through the nuances of DTF printing. From detailed walkthroughs on the core steps to expert tips on troubleshooting common issues, these resources can significantly enhance your skills and confidence. Engaging with dedicated crafting communities on forums and social media can also connect you with fellow enthusiasts who share their experiences and secrets.
Furthermore, many websites provide comprehensive guides and downloadable templates specifically tailored for DTF printing. These resources often include industry insights and recommended practices, ensuring you’re well-informed about current trends and techniques. By leveraging these invaluable tools and tapping into community support, you can accelerate your journey in the exciting world of DIY DTF transfers. Continuing education is key in this creative field, and with so many avenues available, success is within reach.
Frequently Asked Questions
What are DIY DTF transfers and how do they work?
DIY DTF transfers, or Direct-to-Film transfers, are a printing technique that allows you to create high-quality designs on special transfer films, which are later applied to fabric using heat and pressure. The process involves printing your design, applying an adhesive powder, and then using a heat press to transfer the design onto various materials such as cotton or polyester.
How do I create DTF transfers at home?
To create DIY DTF transfers at home, you’ll need a DTF printer, transfer film, adhesive powder, and a heat press. Start by designing your artwork, print it on the transfer film, apply the adhesive powder while the ink is still wet, heat to melt the powder, and then use your heat press to transfer the design onto your chosen fabric.
What materials are necessary for the DTF transfer process?
The materials required for the DTF transfer process include a DTF printer, specialized DTF transfer film, adhesive powder, a heat press machine, and weeding tools. Having quality materials ensures vibrant and durable transfers for your custom apparel projects.
Can I use DTF printing for all types of fabrics?
Yes, DTF printing is highly versatile and can be used on various fabric types, including cotton, polyester, and blends. This makes it an excellent choice for creating custom apparel that can cater to different consumer preferences.
What are the pros and cons of DIY DTF transfers?
The advantages of DIY DTF transfers include high-quality prints with vibrant colors and versatility for different fabrics. However, there are also some drawbacks, such as the initial investment costs and a learning curve for beginners who may need to practice to perfect their technique.
Where can I find resources for learning about DTF transfers?
You can find numerous resources and tutorials for learning about DTF transfers on platforms like Craftables and YouTube. These platforms offer helpful guides and community insights that are perfect for beginners looking to enhance their DIY DTF transfer skills.
| Key Point | Details |
|---|---|
| Introduction | DTF (Direct-to-Film) Transfers are popular for custom apparel, offering vibrant designs and ease of use. |
| Advantages of DTF | – Quality Prints: High detail and vivid colors. – Versatility: Works on various materials. – Ease of Use: User-friendly once learned. |
| Disadvantages of DTF | – Initial Cost: Expensive equipment needed. – Learning Curve: Requires practice for proficiency. |
| Materials Needed | – DTF Printer – Transfer Film – Adhesive Powder – Heat Press – Weeding Tools |
| Step 1-6 Process Overview | 1. Create Design 2. Print on Transfer Film 3. Apply Adhesive Powder 4. Preheat Heat Press 5. Transfer the Design 6. Remove Film |
| Resources | Useful tutorials can be found on sites like Craftables and YouTube. |
| Safety Precautions | Work in a ventilated area and use protective equipment when handling materials. |
Summary
DIY DTF Transfers provide a fantastic way to create vibrant and custom designs on various fabrics, perfect for beginners and experienced crafters alike. This innovative printing technique not only produces stunning visual results but also offers a user-friendly approach once you grasp the essential skills and materials needed. By following the detailed steps outlined in the guide, you can easily embark on your creative journey and experiment with personalized projects, ensuring that the fruits of your labor can be enjoyed by others or even turned into a small business opportunity. With the right resources, safety measures, and practice, your DIY DTF Transfers can bring your artistic visions to life!