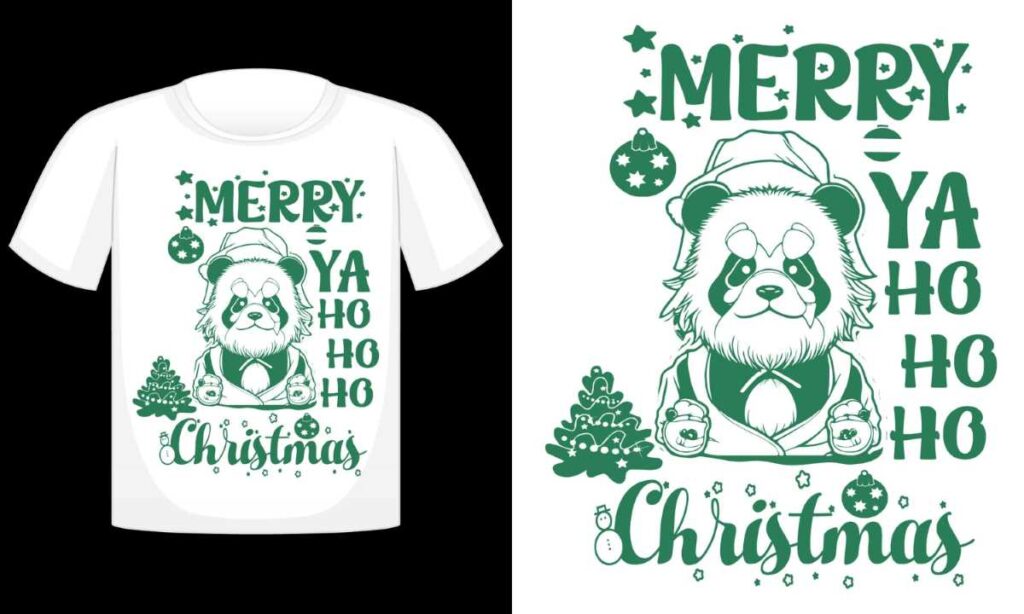
Understanding the Basics of Christmas Transfers
Christmas transfers designing perfect starts with understanding the fundamentals. Christmas transfers are pre-designed or custom graphics that can be applied to fabric or other materials using heat. They allow for vibrant designs with minimal effort.
These transfers are especially popular for creating holiday-themed apparel, home decor, and gifts. Their versatility and ease of use make them a go-to option for DIY enthusiasts and small businesses alike.
Choosing the Right Materials for Christmas DTF Transfers
The materials you choose play a crucial role in achieving high-quality results. Cotton and polyester fabrics are ideal for Christmas transfers, as they provide a smooth surface for strong adhesion. Avoid using textured or stretchy materials, which may distort the design.
For non-fabric projects, materials like wood, metal, and ceramic can also work well. These options open up opportunities for crafting unique holiday decorations, such as custom ornaments or personalized signs.
Deciding on a Theme for Your Christmas Transfers
A cohesive theme is key to creating standout Christmas transfers. Popular themes include classic holiday icons like snowflakes, Santa Claus, and reindeer, as well as modern designs with minimalistic or retro aesthetics. Choose a theme that aligns with your personal style or target audience.
Additionally, consider seasonal color palettes. Traditional reds and greens are timeless, but incorporating metallics, pastels, or even neon hues can add a unique flair to your designs.
Creating Custom Designs for Christmas Transfers
Custom designs are a great way to make your Christmas transfers unique. Use graphic design software like Adobe Illustrator or Canva to create high-resolution images. Ensure your designs are clean and scalable to maintain sharp quality during the transfer process.
Incorporate festive elements such as holly, bells, or snowflakes to enhance your designs. Adding text, like holiday greetings or family names, can also make the transfers more personalized.
Preparing Your Artwork for the Printing Process
Before printing, ensure your artwork is optimized for DTF transfer. Use CMYK color mode to achieve accurate hues and export the design in a high-quality format such as PNG or PDF. This step ensures your Christmas transfers appear vivid and crisp.
Double-check the dimensions and resolution of your design. A resolution of 300 DPI is ideal for maintaining clarity. Proper preparation minimizes errors and ensures your transfers are professional-grade.
Printing and Applying Christmas Transfers
Once your design is ready, it’s time to print. Use a DTF printer with compatible transfer film and high-quality inks to achieve the best results. Ensure the print settings match the specifications of your film for a seamless finish.
When applying the transfer, use a heat press or iron to evenly distribute heat and pressure. Follow the manufacturer’s guidelines for temperature and duration to ensure the design adheres perfectly.
Common Mistakes to Avoid When Designing Christmas Transfers
Avoid using low-resolution images, as they can result in blurry or pixelated designs. Always start with a high-quality file to ensure your Christmas transfers look professional and sharp.
Another common mistake is neglecting to test the design on a sample material. Testing allows you to identify and fix potential issues before committing to a final product, saving time and resources.
Tips for Selling Christmas Transfers Online
If you’re planning to sell your Christmas transfers, focus on creating a diverse range of designs to appeal to different tastes. Offer custom options to attract customers seeking personalized items.
Use high-quality photos and detailed descriptions to showcase your products. Highlight key features such as durability, vibrant colors, and ease of application to build customer confidence.
Conclusion
Designing perfect Christmas transfers is a rewarding process that combines creativity with technical skill. By choosing the right materials, creating cohesive designs, and following best practices for printing and application, you can achieve stunning results. Whether for personal use or commercial purposes, Christmas transfers are a versatile and exciting way to celebrate the holiday season. Start designing today and bring your festive ideas to life!
Frequently Asked Questions
- What are Christmas DTF transfers?
- Christmas DTF transfers are heat-applied designs used to decorate fabrics and other surfaces with vivid holiday graphics.
- Can I use Christmas transfers on non-fabric items?
- Yes, they can be applied to wood, metal, and ceramic surfaces, allowing for creative projects.
- What tools do I need to apply Christmas transfers?
- You’ll need a heat press or an iron to apply the transfers properly. A flat surface is also essential for smooth results.
- How do I ensure my Christmas transfers last long?
- Follow proper care instructions, including washing garments inside out and avoiding harsh detergents.
- Can I create custom designs for DTF transfers?
- Yes, custom designs are possible and allow you to create unique, personalized products.
- What resolution is best for transfer designs?
- A resolution of 300 DPI is recommended for clear and detailed designs.
- Are Christmas transfers washable?
- Yes, they are washable if applied and cared for correctly, maintaining their vibrant colors.
- How long does it take to apply a transfer?
- The process typically takes 30 seconds to 1 minute, depending on the transfer and heat settings.
- Do I need professional equipment for DTF transfers?
- No, basic tools like a home iron can work, but a heat press provides more consistent results.
- Where can I buy high-quality DTF transfers?
- Reputable suppliers like HarwinDTF offer a wide range of premium Christmas transfers for all your needs.


